The TakVector app
Draw, pick the mission type, set height, range or radius with a slider, hit Go. Teammates' positions and the pins they share show up on the same map, with a Fly button next to each.
Five steps. Two of them are yours; the rest happen on their own.
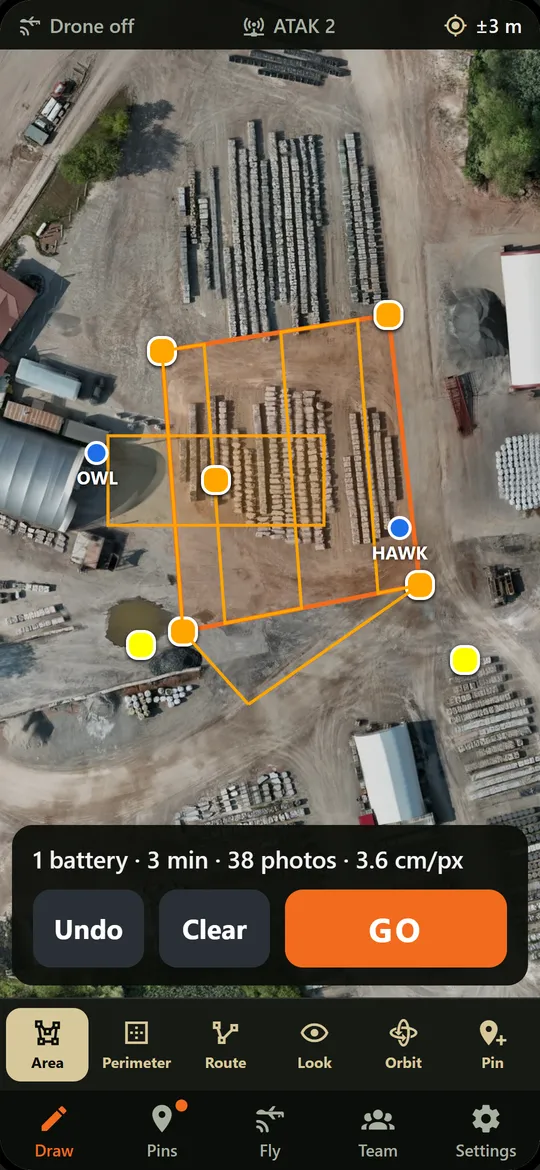
Tap the corners on the map. TakVector plans the flight height, photo overlap and grid lines, and splits big areas across batteries. You see the battery count, flight time and photo count before you fly.
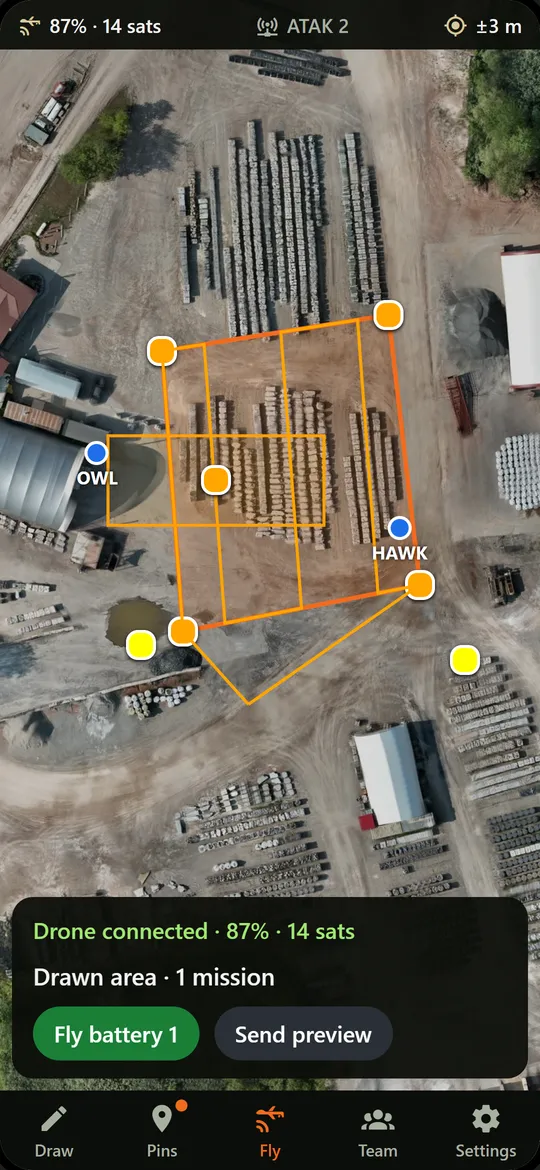
With the drone connected you get one button: fly battery 1. The pilot launches each sortie and keeps the drone in sight. That's the job. No sticks, no waypoint editing, no file juggling.
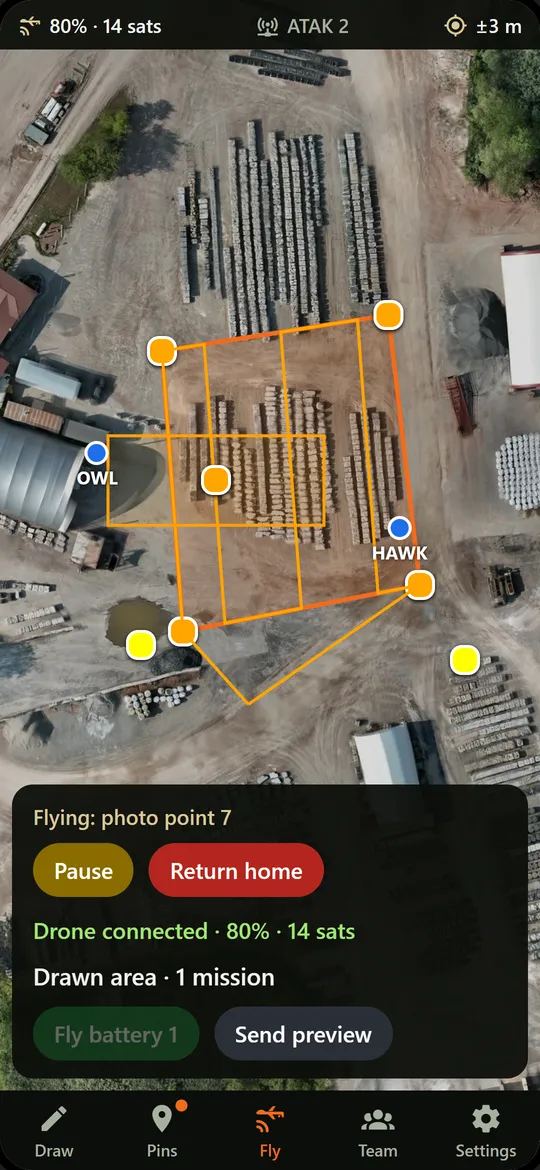
The drone flies the grid on its own and the status line tells you where it is. Pause and Return home are one tap away. Stay on task; glance up.
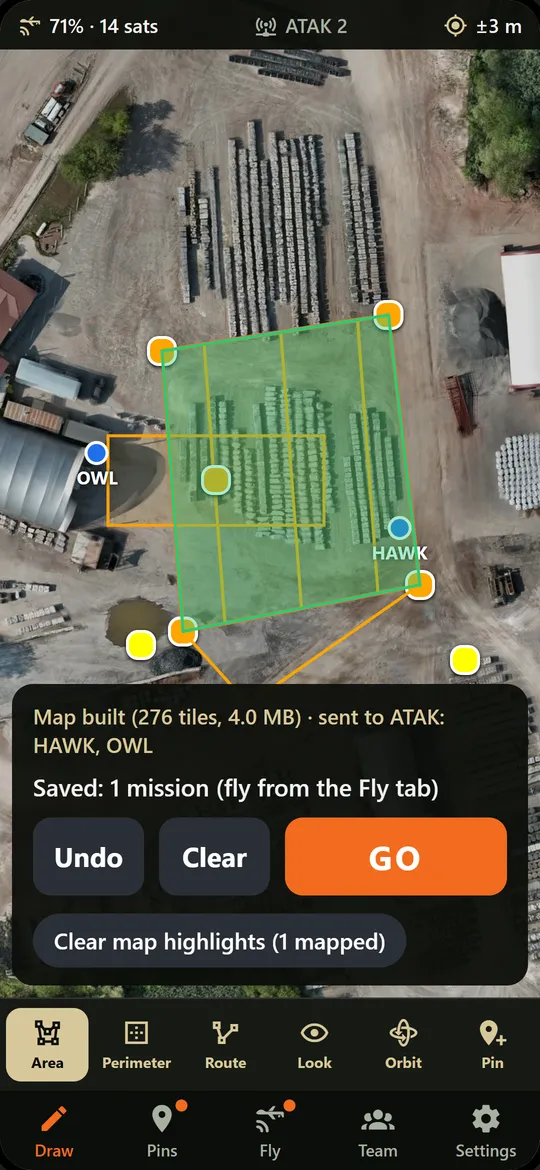
When the drone lands, the photos come down to the phone and the map is stitched right there. No laptop, no cloud upload, no signal needed.
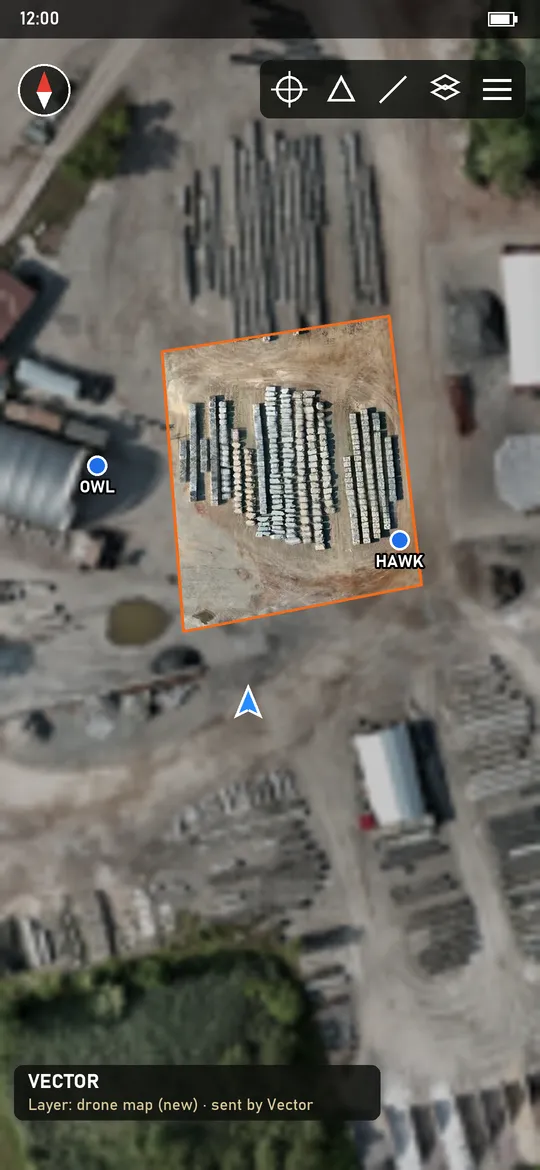
The finished map goes out to every connected ATAK as a map layer. Teammates use regular ATAK, which is free. One TakVector licence equips the whole squad.
Draw, pick the mission type, set height, range or radius with a slider, hit Go. Teammates' positions and the pins they share show up on the same map, with a Fly button next to each.
TakVector runs a "Vector" contact inside ATAK. Send it a shape: a polygon becomes a mapping grid, a line becomes a route scout, a marker becomes an orbit. Reply RGR in chat to fly, if you've turned that on.
Both drive the same engine. A mission started in one shows in the other, and results always land in ATAK.
| Mission | Draw | What the drone does |
|---|---|---|
| Area | Polygon | Flies a mapping grid over the area and builds a stitched map on your phone, then pushes it to ATAK. |
| Perimeter | Area edge | Flies the outline of an area, inside or outside the line, with the camera looking down, ahead, in or out. |
| Route | Line | Scouts along a trail or road, following the bends, out to a distance limit, with an optional return the same way. |
| Look | Point | "Go look at that thing over there." A close photo and a wide photo, straight down, attached to the point. |
| Orbit | Point or circle | Circles a point of interest and attaches the photos to the marker in ATAK. |
| Pin | Marker | Drop rally points and markers that every teammate sees, then task the drone on any of them. |
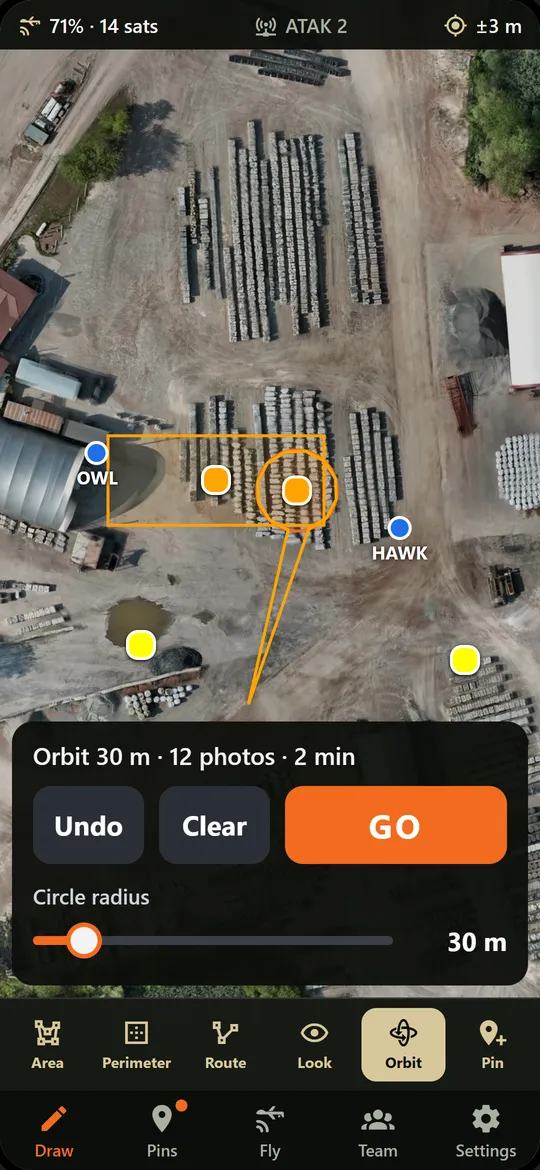
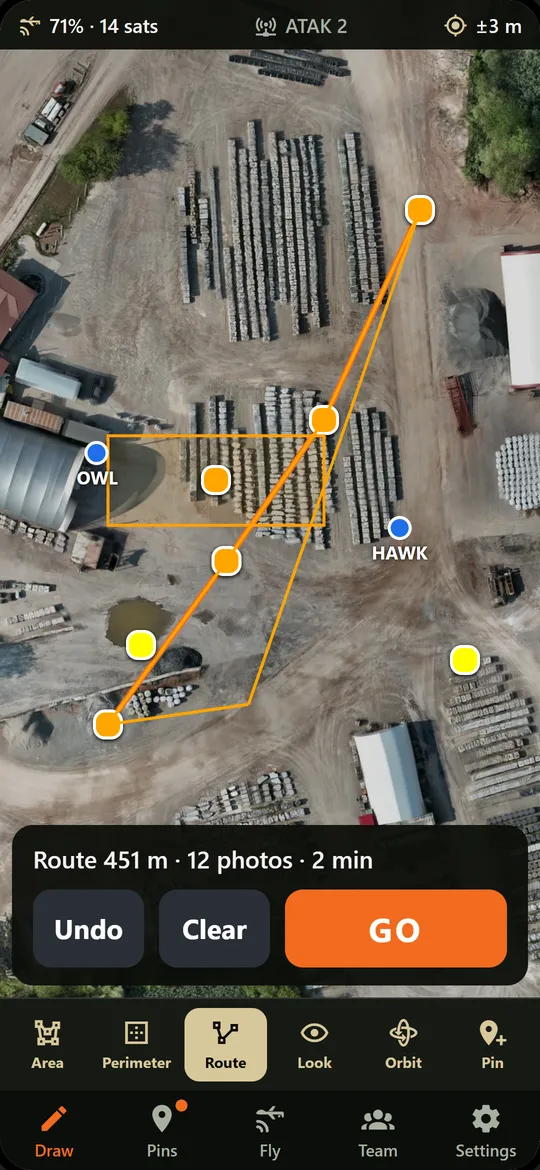
Screens are from the TakVector beta, captured from the app on a PC with a simulated flight; the background is our own drone imagery. The ATAK screen is an illustration.
10 to 20 testers before we charge anyone. Free through the beta, a discounted first year, and your name in the credits.
You'll need: Android phone, DJI Mini 4 Pro with the DJI RC-N3 controller (or plans to get one), and some time in ATAK.